How to Upload an Excel Sheet Into Address Labels
If yous're looking to create and impress labels of any kind, look no further than Microsoft Word and Excel. You can store your characterization data in Excel and and then fetch that data in Word to save or print your labels.
In this guide, you'll learn how to create a label spreadsheet in Excel that'south compatible with Word, configure your labels, and salvage or print them.

1. Enter the Information for Your Labels in an Excel Spreadsheet
The beginning step is to create an Excel spreadsheet with your label data. You'll assign an advisable header to each information field so you can retrieve the headers in Word.
For the following case, nosotros'll create a spreadsheet with the post-obit fields:
- First Proper name
- Concluding Proper name
- Street Address
- City
- Country
- Nix Lawmaking
To starting time creating your Excel spreadsheet:
- Launch Microsoft Excel on your Windows or Mac figurer and create a new spreadsheet.
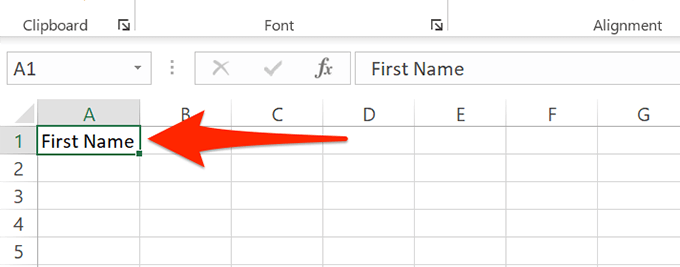
- On Excel's spreadsheet screen, select the kickoff jail cell in the first row and blazon First Name.
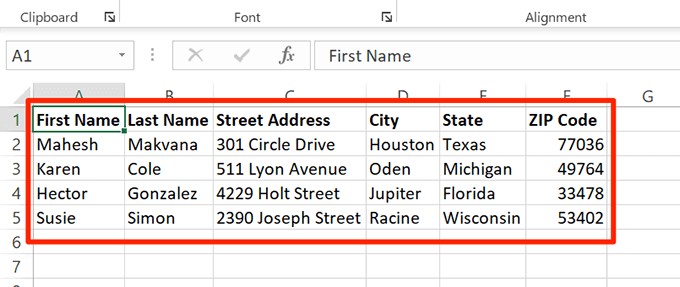
- Select the first jail cell in the B column and blazon Terminal Proper noun. Similarly, add together Street Address, City, State, and ZIP Code to the C, D, E, and F columns' kickoff rows, respectively.
- At present add together the data below each header you lot just created. Your spreadsheet should look something like this:
- When you lot've finished adding information, save your spreadsheet by selecting File at the top.
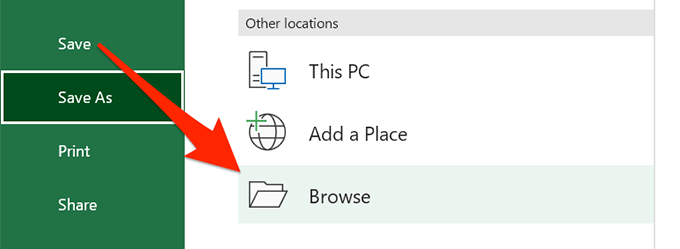
- Select Save in the left sidebar.
- Select Browse in the pane on the right.
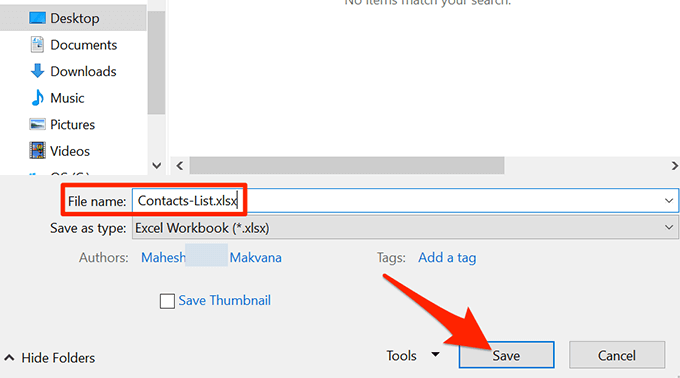
- Choose a folder to save your spreadsheet in, enter a name for your spreadsheet in the File proper noun field, and select Save at the bottom of the window.
- Close the Excel window.
Your Excel spreadsheet is now set.
2. Configure Labels in Give-and-take
The second step is to configure the dimensions of your labels in Word. In that location are several predefined label layouts that you can choose from. You lot can fifty-fifty create your ain label with custom dimensions, if y'all desire.
- Launch Microsoft Word on your Windows or Mac calculator and beginning a new blank document.
- On the document editing screen, select the Mailings tab from the meridian toolbar.
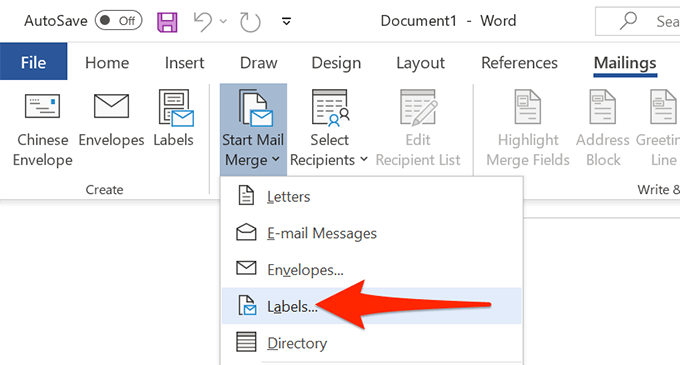
- In the Mailings tab, select Start Mail Merge and and then cull Labels from the menu.
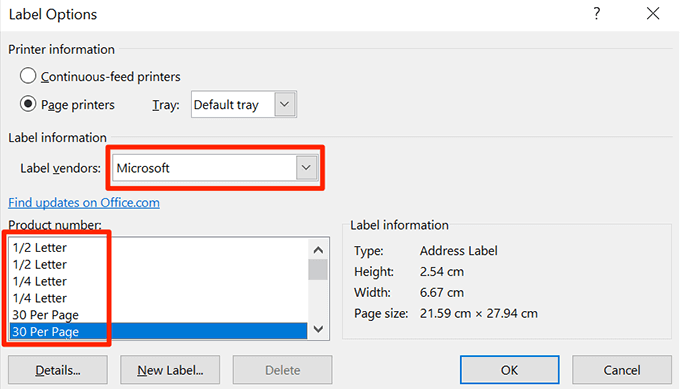
- In the window that opens, select a label vendor from the Label vendors dropdown menu. So, select a label type from the Product number list, Finally, select OK.
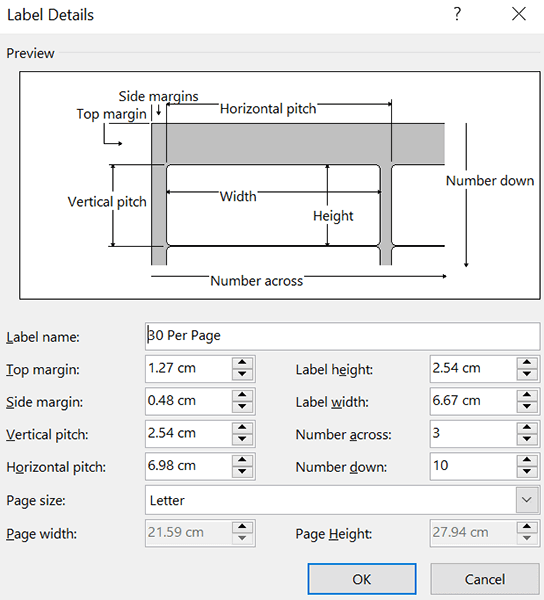
- If you lot'd like to create a custom label, select the New Label push and specify your label dimensions on the following window.
- Your characterization layout is now configured, and continue this document open up in Word.
3. Bring the Excel Data Into the Word Document
At present that your labels are configured, import the data you saved in your Excel spreadsheet into your Word document. You don't need to open Excel to practise this.
To start:
- While your Give-and-take document is still open, select the Mailings tab at the top.
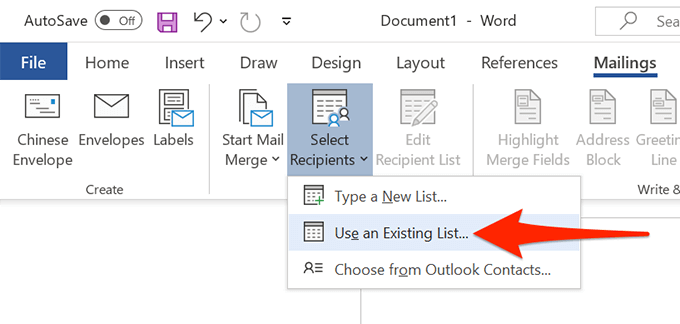
- In the Mailings tab, select Select Recipients and choose Apply an Existing List. You're telling Discussion you desire to use a predefined list for your labels.
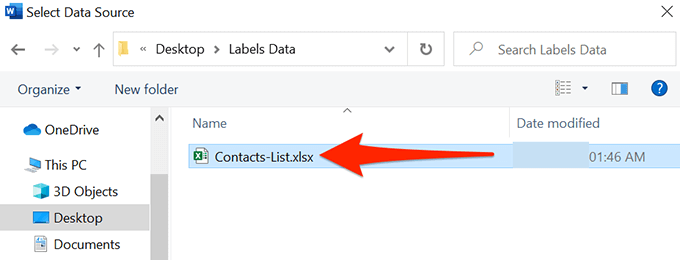
- In the File Explorer window that opens, navigate to the folder containing the Excel spreadsheet you created in a higher place. Double-click the spreadsheet to import information technology into your Word document.
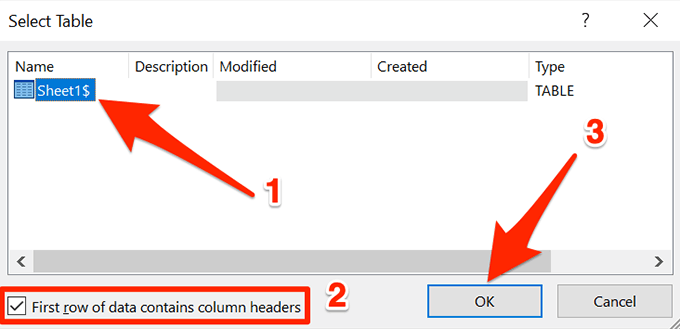
- Discussion will open a Select Table window. Here, select the sheet that contains the label data.
- Tick mark the First row of data contains column headers option and select OK.
4. Add Labels from Excel to a Word Document
You will now specify the fields y'all'd like to use in your labels.
To practice that:
- Ensure you're still on the labels document in Word.
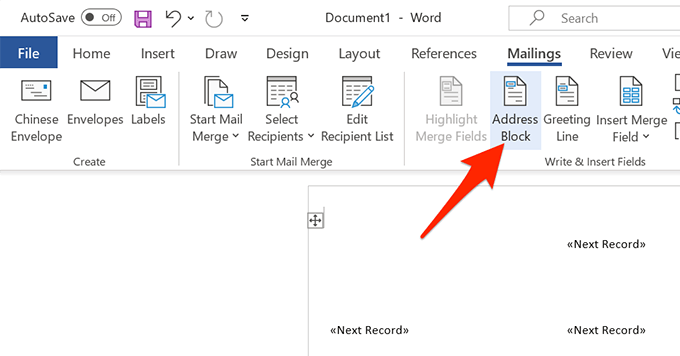
- Select the Mailings tab at the top, and so from the Write & Insert Fields department, select the Address Block choice.
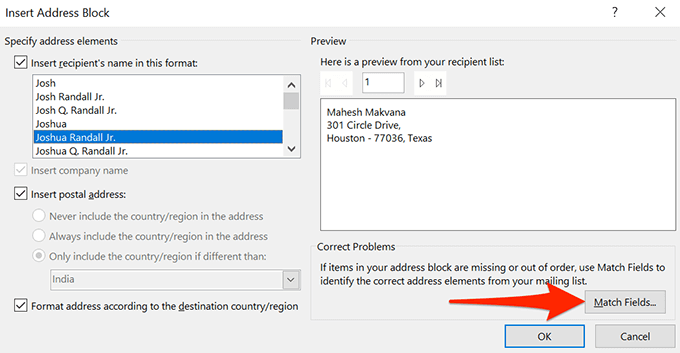
- On the Insert Address Block window that opens, select the Match Fields push button.
- Discussion opens a Match Fields window. Here, make certain each field in the Required for Accost Cake matches with the appropriate field in your spreadsheet. For example, Address 1 should exist set to use Street Address from your spreadsheet, and and then on.
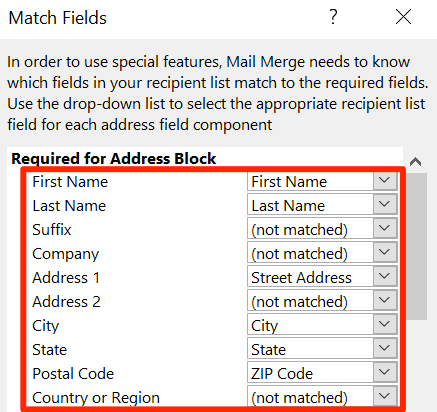
- Select OK to shut the window.
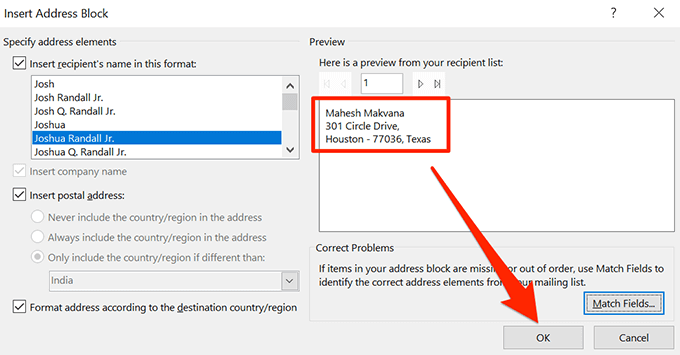
- Back on the Insert Address Block window, you tin see a preview of your characterization. Ensure this preview represents the actual labels you want to create. Then, select OK at the lesser of the window.
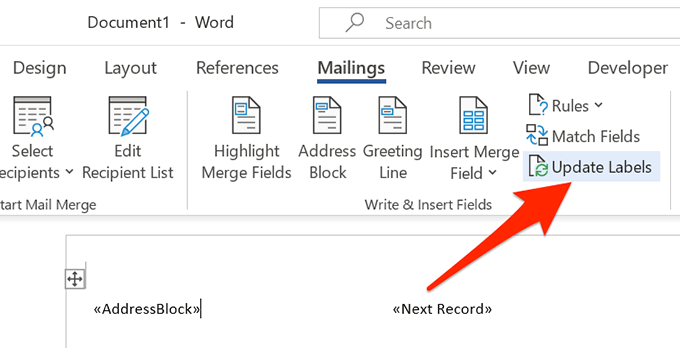
- In your Discussion document, you'll notice the first label at present says <<AddressBlock>>.
- Select the Mailings tab at the meridian and so select Update Labels.
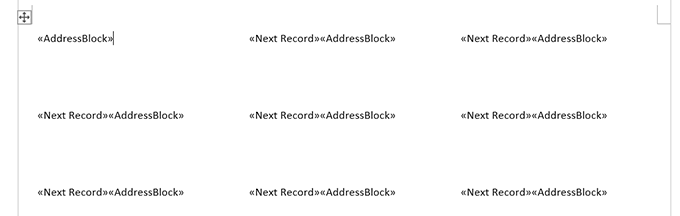
- All labels in your document should now say <<AddressBlock>>.
5. Create Labels From Excel in a Discussion Document
Discussion at present has all the data information technology needs to generate your labels. You will now finish the process and Word will display the actual information for each label:
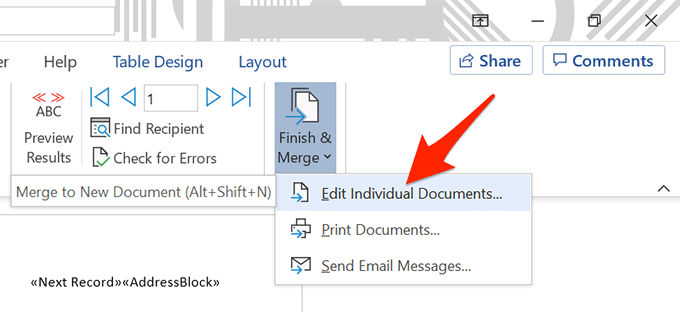
- In the Mailings tab of Word, select the Finish & Merge option and choose Edit Individual Documents from the menu.
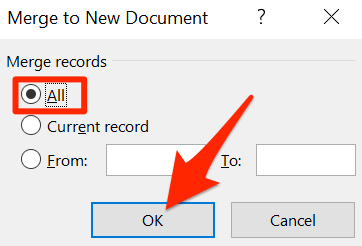
- In the window that opens, cull All and select OK.
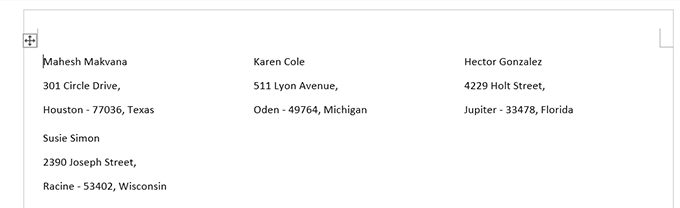
- Your Give-and-take document should at present display all your labels with their individual data.
You can now relieve this labels document, generate a PDF out of information technology, or physically print the certificate (labels).
vi. Salvage Discussion Labels Created from Excel every bit PDF
You don't have to use a third-party tool to salvage your Word'due south label document as PDF:
- Select the File tab at the top of the Discussion window.
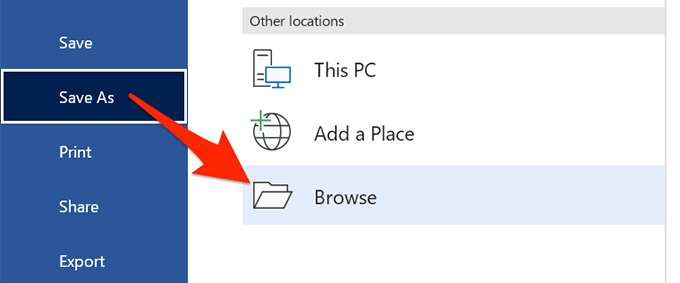
- From the sidebar on the left, select Save As.
- Choose Browse on the correct pane.
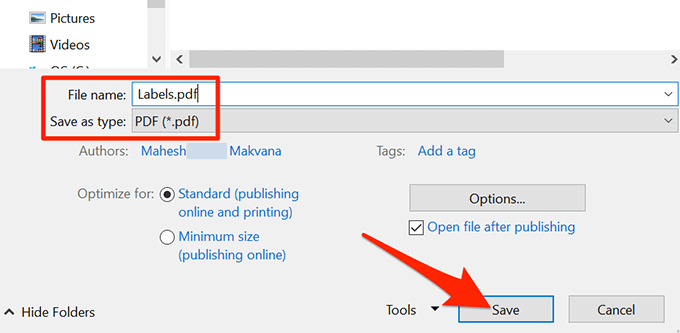
- Select a binder to save your PDF in, enter a name for your PDF in the File name field, choose PDF from the Save as type dropdown carte du jour, and select Save.
7. Print Word Labels Created From Excel
You can print your labels directly from Word. Make sure your printer is connected to your computer when y'all perform printing:
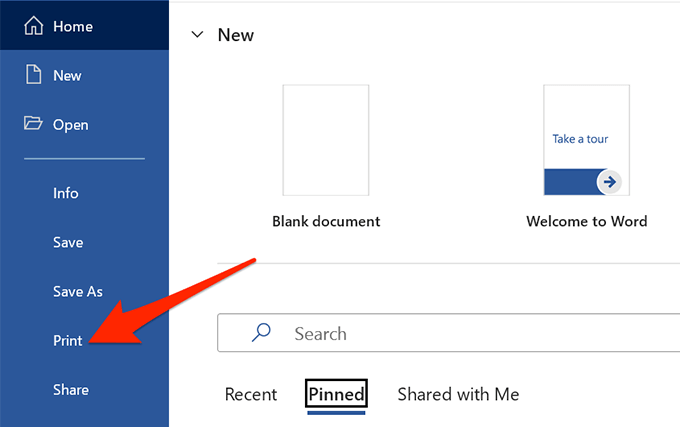
- Select the File tab at the top of the Discussion window.
- Select Impress in the left sidebar.
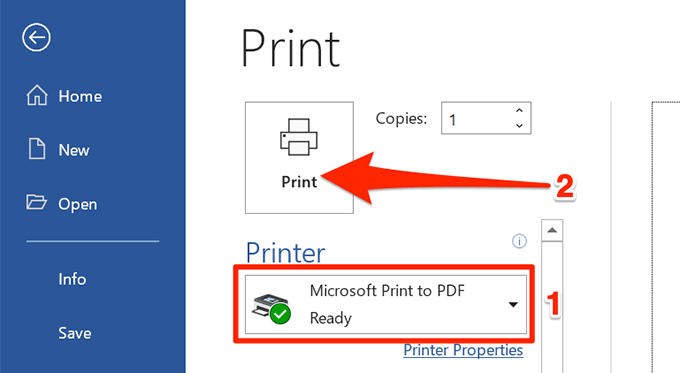
- Choose a printer from the Printer menu on the right pane, and then select Print at the top.
And you lot're all set.
As you can see above, Word and Excel assist you create well-nigh all kinds of labels on your Windows and Mac computers. If this helped you generate the type of labels in Excel that you wanted, let the states know in the comments beneath.
Do not share my Personal Information.
Source: https://www.online-tech-tips.com/ms-office-tips/how-to-create-labels-in-word-from-an-excel-spreadsheet/